Table of Contents
To make a wedding bouquet, you’ll need to select the flowers and greenery that you want to use, prepare them by cleaning and trimming them, assemble them into a bouquet, and add any final touches or embellishments.
Wedding bouquets hold a special significance in matrimonial ceremonies, symbolizing love, happiness, and the beginning of a new chapter in life. Making your own bouquet not only adds a personal touch to your special day but can also be cost-effective and environmentally friendly. This comprehensive guide will show you how to create a stunning wedding bouquet, with tips about how to select the perfect flowers and greenery to information about adding those all-important finishing touches.
Materials and Tools
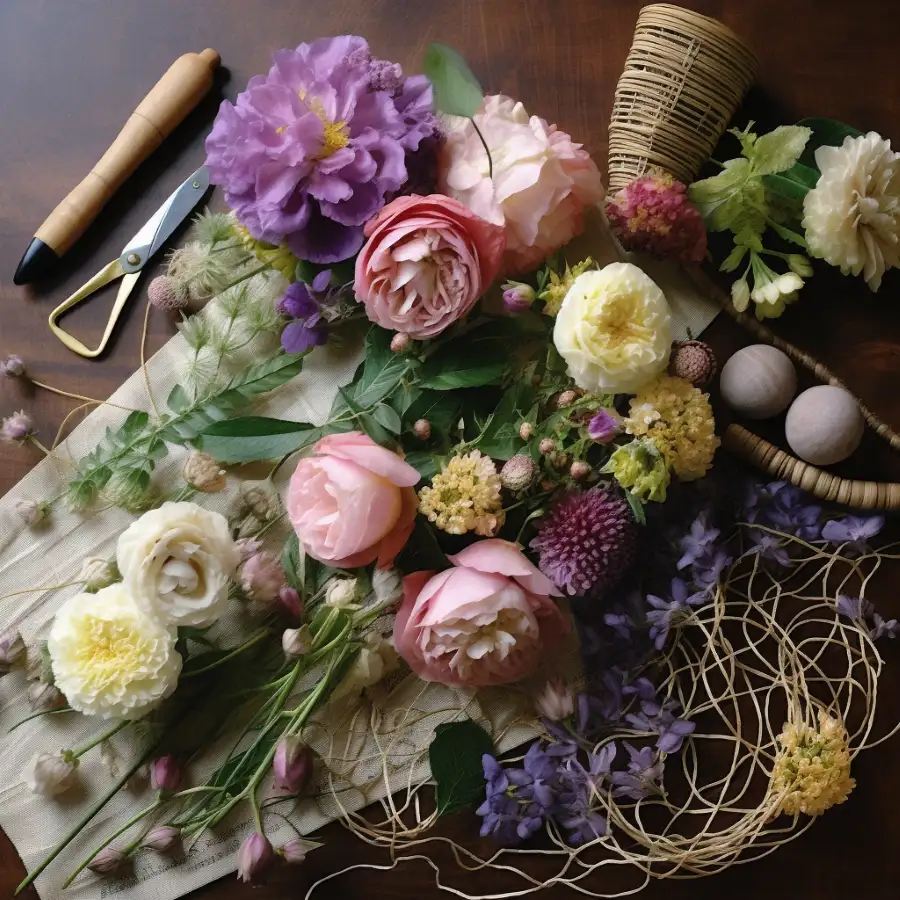
To create a beautiful and personalized wedding bouquet, it is essential to have the right materials and tools. Here, we provide a detailed explanation of the materials and tools you will need for this project:
- Carter, Lisa (Author)
- English (Publication Language)
- 107 Pages - 04/06/2024 (Publication Date) - Independently published (Publisher)
Materials:
- Fresh flowers and greenery: These are the heart and soul of your bouquet. Choose a variety of flowers and greenery that reflect your personal style, wedding theme, and color scheme. It’s important to select fresh, high-quality blooms to ensure your bouquet looks its best on your special day.
- Floral wire: This thin, flexible wire is used to secure the stems of your flowers and greenery, providing structure and stability to your bouquet. It can also be used to lengthen stems if needed, or to create custom embellishments.
- Floral tape: This self-adhesive tape is designed specifically for working with flowers. It stretches and sticks to itself, making it perfect for wrapping around the stems of your bouquet to hold them together securely. It’s typically available in green, which helps it blend seamlessly with the stems.
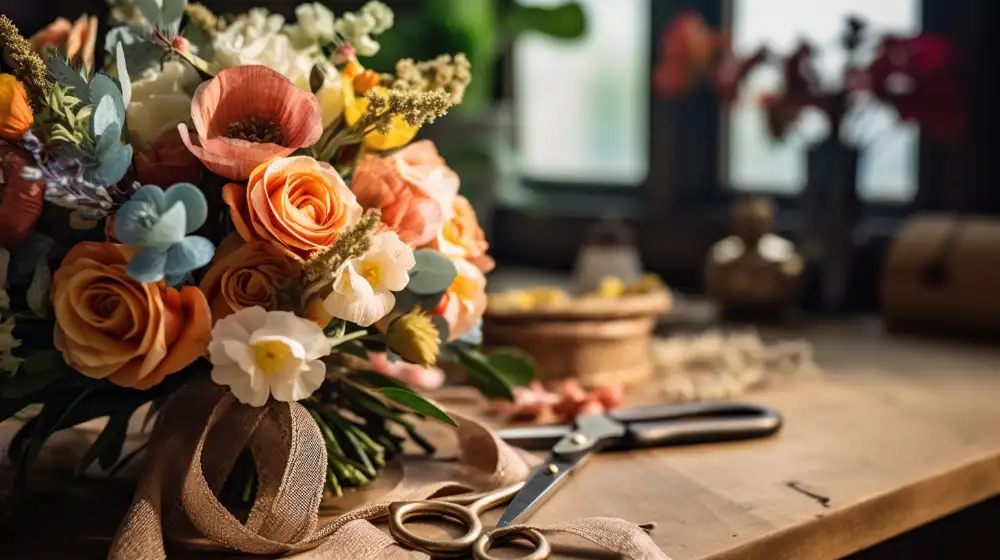
- Ribbon or fabric: This material is used to wrap the handle of your bouquet, adding a decorative touch and making it comfortable to hold. Choose a color and texture that complements your wedding theme and dress. Satin, lace, or burlap are popular choices, depending on the style of your wedding.
- Embellishments: These decorative items can include beads, charms, or trinkets that add a personal touch to your bouquet. Select items that have special meaning to you or that enhance the overall appearance of your bouquet. You can incorporate family heirlooms, symbolic charms, or even small photographs for a truly unique touch.
Tools:
- Scissors: A sharp pair of scissors is essential for trimming and cutting the stems of your flowers and greenery. A clean, precise cut helps the flowers to absorb water and stay fresh, so it’s important to use high-quality scissors that are specifically designed for cutting plants.
- Wire cutters: These tools are designed to cut through floral wire with ease. Using wire cutters ensures a clean, smooth cut that won’t damage the wire, making it easier to work with when securing your bouquet.
- Bucket or vase: Having a container to hold your flowers and greenery while you work is crucial. A bucket or vase filled with water will keep your flowers fresh and hydrated as you assemble your bouquet. Choose a container that is large enough to hold all the flowers and greenery comfortably without overcrowding them.

Selecting Flowers and Greenery
Choosing the perfect flowers and greenery for your wedding bouquet is a crucial step, as they represent your personal style and set the tone for your wedding. To help you make the best choices, consider the following tips and guidelines:
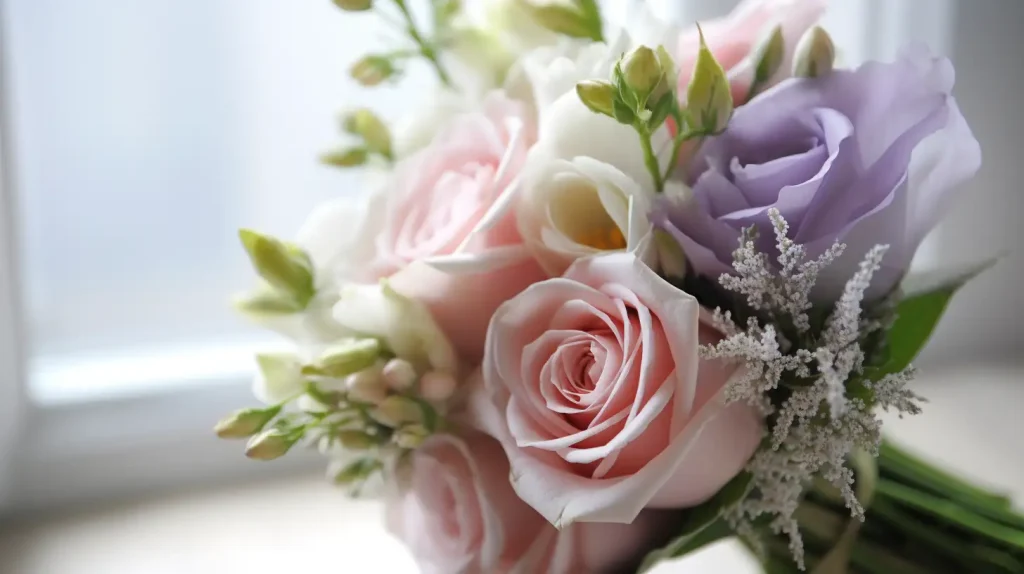
- Colors: The colors of your bouquet should complement your wedding theme and dress. Take inspiration from your color palette, bridesmaids’ dresses, and other wedding décor. Don’t be afraid to incorporate contrasting or complementary colors to add depth and interest to your bouquet. For a more traditional look, opt for classic white or ivory blooms, while bolder colors can create a vibrant, modern effect.
- Textures: Mixing and matching textures adds visual interest and sophistication to your bouquet. Combine different types of flowers and greenery with varying petal shapes, sizes, and foliage textures. For example, pair soft, romantic blooms like roses and peonies with spiky, structural elements like thistles or succulents. Incorporating a variety of textures creates a visually dynamic and engaging bouquet.
- Sizes: A well-balanced bouquet features flowers and greenery of different sizes. Use larger blooms as focal points and smaller flowers to fill in gaps and add dimension. Consider the proportions of your bouquet in relation to your dress and body size—while a large, cascading bouquet can create a dramatic effect, a smaller, more delicate arrangement may be more appropriate for a petite bride or a minimalist gown.
- Flower meanings: Many flowers carry symbolic meanings that can add extra significance to your bouquet. For example, roses symbolize love and passion, while lilies represent purity and innocence. Consider the meanings of different flowers when selecting your blooms, and use this symbolism to create a bouquet that tells a story or represents your relationship.
- Seasonality: Choose flowers that are in season during your wedding month, as they will be more readily available and affordable. Seasonal flowers also tend to be fresher and of higher quality, ensuring your bouquet looks its best on your big day.
- Scent: The fragrance of your bouquet can add another layer of sensory experience to your wedding. Some flowers, like gardenias and jasmine, have strong, intoxicating scents, while others are more subtle. Consider the impact of scent on your bouquet and choose flowers that complement each other in aroma as well as appearance.
- Greenery: Don’t underestimate the importance of greenery in your bouquet. Foliage adds depth, texture, and contrast to your arrangement. Popular choices include eucalyptus, ferns, and ruscus. Consider using different types of greenery to create a lush, natural look.
By taking these factors into consideration, you can create a stunning, personalized wedding bouquet that enhances your wedding theme and reflects your unique style.
Preparing the Flowers and Greenery
Properly preparing the flowers and greenery for your wedding bouquet is essential to ensure their longevity and beauty on your special day. Follow these detailed steps to prepare your blooms and foliage:
- Clean the stems: Gently remove any dirt, debris, or insects from the stems and petals of your flowers. This will help maintain the freshness and appearance of your blooms. Use a soft brush or cloth to clean delicate flowers and avoid damaging their petals. For more robust greenery, you can gently rinse the stems under running water.
- Trim the stems: Using a sharp pair of scissors or floral shears, cut the stems of your flowers and greenery at a 45-degree angle. This angled cut increases the surface area for water absorption, helping to keep your blooms fresh and hydrated. Remove any leaves or foliage that will be below the waterline when stored, as these can promote bacterial growth and decrease the lifespan of your flowers.
- Hydrate the flowers and greenery: After trimming the stems, immediately place them in a bucket or vase filled with fresh, clean water. This helps to rehydrate the flowers and greenery, ensuring they stay fresh and vibrant. Make sure the container is large enough to hold all the stems without overcrowding them, as this can cause damage and impede water absorption.
- Condition the flowers: Some flowers, particularly those with woody stems like roses and hydrangeas, benefit from a process called conditioning. This involves gently crushing the bottom inch of the stem with a hammer or the back of a knife to expose the vascular tissue, allowing for better water absorption. Conditioning can help extend the life of your flowers and improve their appearance in your bouquet.
- Store properly: While preparing your flowers and greenery, store them in a cool, dark place, away from direct sunlight and drafts. This helps to prevent premature wilting and ensures your blooms stay fresh and vibrant. Replace the water in your container daily or as needed and recut the stems every few days to maintain optimal hydration.

Assembling the Bouquet
Creating your wedding bouquet requires patience and a keen eye for detail. Follow these steps to assemble a beautiful and balanced arrangement:
- Begin with a focal flower: Choose a central flower that will serve as the anchor for your bouquet. This should be a larger, eye-catching bloom that sets the tone for the rest of the arrangement. Position this flower in the center of your bouquet, holding it between your thumb and forefinger. Consider using a flower with a strong stem, as it will need to support the weight of the surrounding flowers and greenery.
- Add supporting flowers and greenery: Gradually arrange additional flowers and greenery around the focal flower, creating a balanced and cohesive design. Work in a spiral pattern, turning the bouquet as you add each new element. Combine different sizes, colors, and textures to create visual interest and harmony. Remember to maintain a consistent grip on the stems, keeping them in place as you build your bouquet.
- Check the balance and proportions: Periodically step back from your bouquet to assess its overall shape and balance. Make sure the arrangement is symmetrical and evenly distributed, with no gaps or uneven areas. Adjust the height and position of individual flowers and greenery as needed to achieve the desired effect. A well-balanced bouquet should have a pleasing, rounded shape that complements your wedding dress and personal style.
- Secure the stems: Once you are satisfied with the arrangement, use floral wire to secure the stems together. Wrap the wire tightly around the base of the bouquet, just below the blooms, to hold everything in place. Next, wrap floral tape around the stems, starting at the top and working your way down to create a secure and comfortable handle. The tape should overlap slightly, ensuring a smooth and even finish.
- Adjust as needed: With the bouquet secured, make any final adjustments to the arrangement. Gently manipulate the flowers and greenery to fill in any gaps or improve the overall shape. If necessary, trim any stems that are too long or uneven, being careful not to cut too much, as this can affect the stability of the bouquet.
Finishing Touches
Once you have assembled your wedding bouquet, it’s time to add the final touches that will elevate its appearance and make it truly one-of-a-kind. Follow these steps to complete your bouquet:
- Wrap the handle: To create a comfortable and visually appealing handle, wrap the stems with ribbon or fabric. Choose a material that complements your wedding theme and dress, such as satin, lace, or burlap. Start at the base of the blooms and wrap the material tightly around the stems, working your way down to the bottom of the handle. Secure the end with a pin, glue, or by tying a knot. You can also create a decorative bow or leave trailing ribbons for a more dramatic effect.
- Add embellishments: Enhance your bouquet with beads, charms, or trinkets that hold personal significance or complement your wedding theme. These decorative elements can be threaded onto floral wire and incorporated into the bouquet or attached directly to the ribbon or fabric wrapping the handle. Choose items that represent your love story, such as a family heirloom, symbolic charm, or even a small photo locket.
- Personalize: Take your bouquet to the next level by incorporating meaningful items that represent you and your partner’s unique love story. This could include flowers from the location of your first date or engagement, a charm engraved with your wedding date, or a piece of lace from your mother’s or grandmother’s wedding dress. These personal touches make your bouquet even more special and memorable.
- Preserve the bouquet: After the wedding, consider preserving your bouquet as a cherished keepsake. There are several techniques for preserving your bouquet, such as air-drying, pressing, or using silica gel. Research the different methods to find the one that best suits your needs and preferences. Properly preserved, your wedding bouquet can become a lasting reminder of your special day and a beautiful piece of home décor.

Conclusion: How to Make a Wedding Bouquet
Making your own wedding bouquet involves selecting the perfect flowers and greenery, preparing them, assembling the bouquet, and adding finishing touches. Creating your own bouquet allows for personalization, cost savings, and the opportunity to have a unique keepsake from your special day. We hope this guide has inspired you to try making your own wedding bouquet and add an unforgettable touch to your celebration.
FAQs
Q: Why should I consider making my own wedding bouquet?
A: Making your own wedding bouquet can save you money, allow you to personalize your bouquet to your own taste, and can be a fun and rewarding DIY project.
Q: How far in advance should I make my wedding bouquet?
A: It is recommended to make your wedding bouquet the day before or the morning of the wedding to ensure that the flowers are fresh and look their best.
Q: Can I use any type of flower in my wedding bouquet?
A: You can use any type of flower in your wedding bouquet, but it’s important to consider the color, texture, and size of the flowers in relation to your wedding dress and wedding theme. Some flowers may be more difficult to work with or may wilt more quickly, so do your research beforehand.
Q: Do I need any special tools to make a wedding bouquet?
A: While some basic tools like scissors and floral tape are necessary, you don’t need any special or expensive tools to make a wedding bouquet. You can find most of the tools you need at a craft store or online.
Q: Can I make a wedding bouquet if I have no prior experience?
A: Yes, you can definitely make a wedding bouquet even if you have no prior experience. There are many resources available, including tutorials, books, and classes, to help you learn the necessary techniques.
Q: How many flowers do I need for a wedding bouquet?
A: The number of flowers you need for a wedding bouquet depends on the size and style of the bouquet you want to make. A general rule of thumb is to use 12-24 stems of flowers, but you can adjust the amount depending on your preferences.
Q: Can I make my wedding bouquet ahead of time and store it?
A: While it’s not recommended to make your wedding bouquet too far in advance, you can store it for a short period of time. Place the bouquet in a vase with water and store it in a cool, dark place. However, it’s best to make your bouquet as close to the wedding date as possible.
Q: Can I make a wedding bouquet using silk flowers?
A: Yes, you can make a wedding bouquet using silk flowers. Silk flowers are a popular choice for DIY bouquets since they can be more durable and can be made ahead of time. However, keep in mind that silk flowers may not look as natural as fresh flowers.
Q: How can I make sure my wedding bouquet looks cohesive with the rest of my wedding decor?
A: To ensure your wedding bouquet looks cohesive with your wedding decor, consider using similar colors and flower types throughout your arrangements. You can also use greenery or other accents to tie everything together.
Q: What are some common mistakes to avoid when making a wedding bouquet?
A: Some common mistakes to avoid when making a wedding bouquet include not choosing the right flowers, not trimming the stems properly, and not arranging the flowers in a balanced and cohesive way. It’s also important to not overthink it and have fun with the process.
Key Takeaways
- Materials and Tools: The essential materials and tools needed for making a wedding bouquet include fresh flowers and greenery, floral wire, floral tape, ribbon or fabric, embellishments, scissors, wire cutters, and a bucket or vase.
- Selecting Flowers and Greenery: Consider the colors, textures, sizes, flower meanings, seasonality, and scents of the flowers when choosing them for your bouquet. Also, don’t forget the importance of incorporating greenery for depth and contrast.
- Preparing the Flowers and Greenery: Clean the stems by removing dirt and insects, trim the stems at a 45-degree angle, hydrate the flowers and greenery in water, and consider conditioning certain flowers for better water absorption.
- Assembling the Bouquet: Start with a focal flower and gradually add supporting flowers and greenery, working in a spiral pattern. Check the balance and proportions of the bouquet and secure the stems with floral wire and tape. Make any necessary adjustments to achieve the desired shape.
- Finishing Touches: Wrap the handle of the bouquet with ribbon or fabric, adding decorative elements like beads or charms if desired. Personalize the bouquet with items that hold special meaning to you and consider preserving the bouquet as a keepsake after the wedding.
COPYRIGHT NOTICE
Please be advised that all images, designs, and creative content on this page are the exclusive property of TheIDoGuide.com and are protected under international copyright laws. The images may not be reproduced, copied, transmitted or manipulated without the written permission of TheIDoGuide.com.
Unauthorized use, distribution, display, or creation of derivative works of any images contained on this site, is strictly prohibited and can lead to legal penalties. We actively monitor for, and enforce, our copyright interests.
If you wish to use any of our images, kindly contact us to seek permission. Respect of copyright is not merely a legal requirement but also an acknowledgement and support of the hard work and creativity that goes into producing them.
Thank you for your understanding and cooperation.
© 2023, TheIDoGuide.com. All Rights Reserved.


