Table of Contents
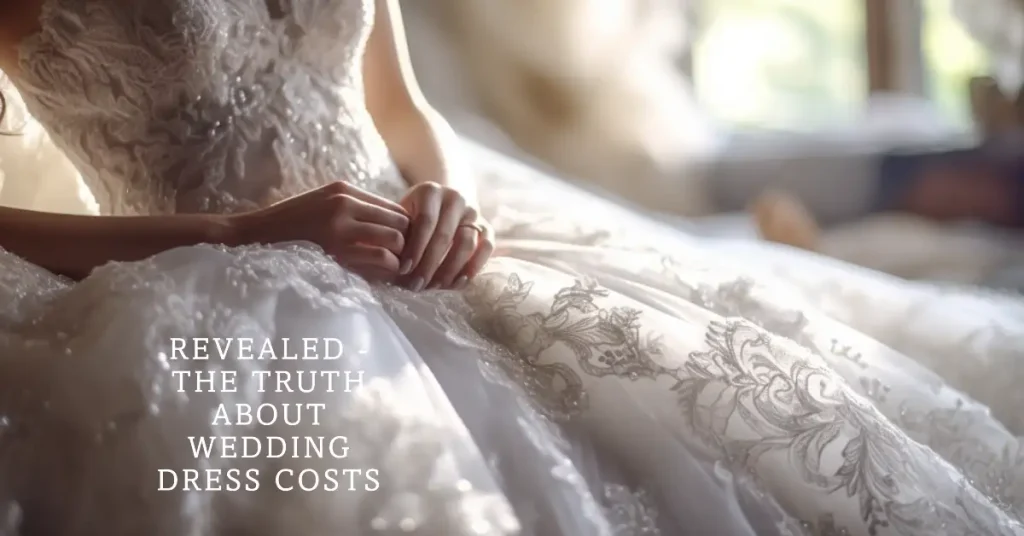
Imagine yourself in a wedding dress, a one-of-a-kind masterpiece, created by no one else but you. Feel that flutter of excitement? It’s indeed a remarkable experience to wear something you’ve meticulously crafted. And don’t worry if you’re feeling a bit unsure – we’re going on this journey together, one step at a time.
Understanding Your Dream Wedding Dress
The wedding dress is a beautiful symbol of love and commitment, and an expression of your personal style. But what exactly does your dream dress look like? Here’s where the magic begins.
Identifying Your Style
Whether you’re a lover of everything vintage or a fan of contemporary chic, defining your style is the first step. Do you imagine yourself floating down the aisle in a dreamy, fairy-tale-like ball gown? Or maybe you’re drawn towards a minimalistic, sleek sheath dress that speaks volumes in its simplicity? Perhaps a bohemian style with flowing fabrics and lace details is more your vibe? Understanding what resonates with your personal style will help shape the vision of your perfect dress.

- Carter, Lisa (Author)
- English (Publication Language)
- 107 Pages - 04/06/2024 (Publication Date) - Independently published (Publisher)
Exploring Inspirations
There’s a world of inspiration out there to help fine-tune your dream dress. Fashion magazines, social media platforms like Instagram and Pinterest, wedding blogs, and even wedding TV shows are rich resources. You might find yourself drawn to a certain celebrity’s wedding dress or a stunning design you spotted in a bridal collection during fashion week. As you explore, collect these ideas.
Creating a Vision Board
Taking the time to create a vision board can be incredibly helpful. This can be a physical board where you pin fabric samples, sketches, and images, or a digital one. As you add to it, you’ll start to see common themes and elements emerge. This board will become your guide, a visual representation of your dream wedding dress.
Comfort is Key
In the midst of all the excitement around aesthetics, it’s easy to forget one vital aspect – comfort. While a heavily embellished ball gown or a tight mermaid dress might look stunning, consider how comfortable you’ll be wearing it for several hours. Will it allow you to dance freely, sit comfortably, and most importantly, enjoy your big day without any discomfort? Your wedding day will be filled with precious moments, and the last thing you want is to be adjusting a too-tight bodice or tripping over an overly long train. As you sketch ideas and browse inspirations, always keep comfort in mind.
Basics of Dressmaking
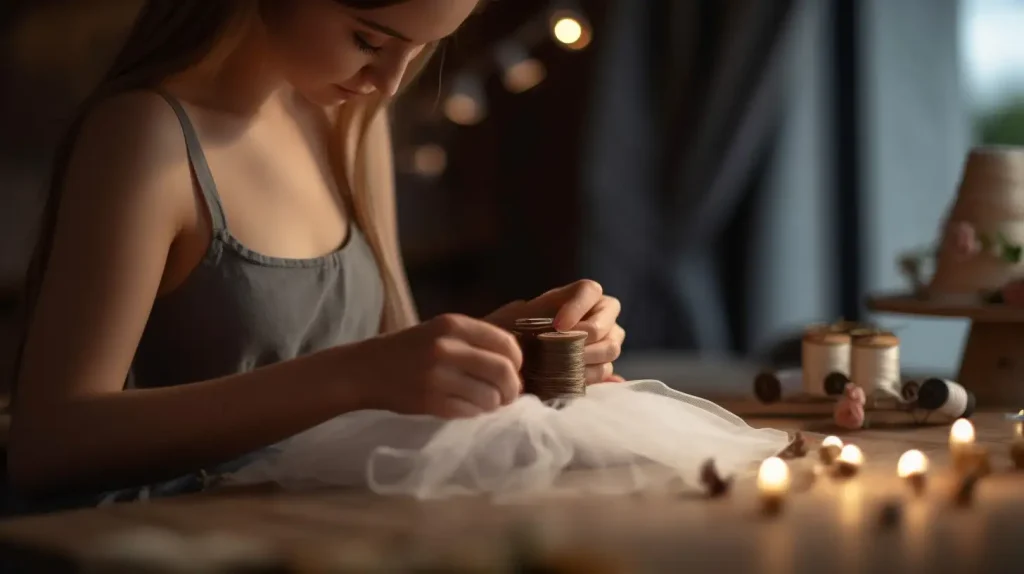
Creating a wedding dress from scratch may seem like a Herculean task, but with the right understanding and patience, you’ll find it a truly rewarding experience. There are some fundamental skills and tools you’ll need, and of course, the materials that will bring your design to life.
Mastering Essential Skills
There are three primary skills you need for dressmaking: sewing, accurate measuring, and pattern drafting.
- Sewing: This is the core skill. You’ll be sewing by hand and using a machine. Don’t worry if you’re a beginner; there are plenty of online tutorials, and local community centers often offer classes. Start with simple projects to gain confidence before moving on to your wedding dress.
- Accurate Measuring: Precision is vital in dressmaking. Accurate measurements will ensure your dress fits perfectly. You’ll be measuring different parts of your body, so familiarize yourself with the process. The key here is to measure twice and cut once.
- Pattern Drafting: This involves translating your measurements into a paper pattern, the blueprint for your dress. It might seem complex at first, but with some practice and helpful video tutorials, you can master this too.
Understanding Your Materials
Every fabric has its own character. Some drape well, some provide structure, and others add volume.
- Silk: Luxurious and sophisticated, silk is perfect for a classy, elegant look.
- Lace: Delicate and romantic, lace adds a beautiful, vintage feel.
- Chiffon: Lightweight and sheer, chiffon gives a soft, ethereal quality to gowns.
- Tulle: This net-like fabric is great for adding volume to skirts or a fairy-tale touch with a veil.
Each fabric serves a different purpose in a wedding gown, so understanding them helps make an informed choice.
Essential Tools for Dressmaking
With the right tools, the dressmaking process becomes smoother and more enjoyable.
- Measuring Tape: A flexible measuring tape is essential for taking accurate body measurements.
- Sewing Machine: This is your primary tool for constructing your dress.
- Pins and Scissors: Pins hold your fabric in place, and sharp scissors ensure clean, precise cuts.
- Tailor’s Chalk: This is used for marking on your fabric and is easily brushed off.
- Seam Ripper: Everyone makes mistakes, and a seam ripper allows you to correct them without damaging the fabric.
Designing Your Wedding Dress
Bringing your dream dress from your mind’s eye to a tangible design on paper is an exciting part of the dressmaking process. Here’s how you can bring your ideas to life.
Sketching Your Ideas
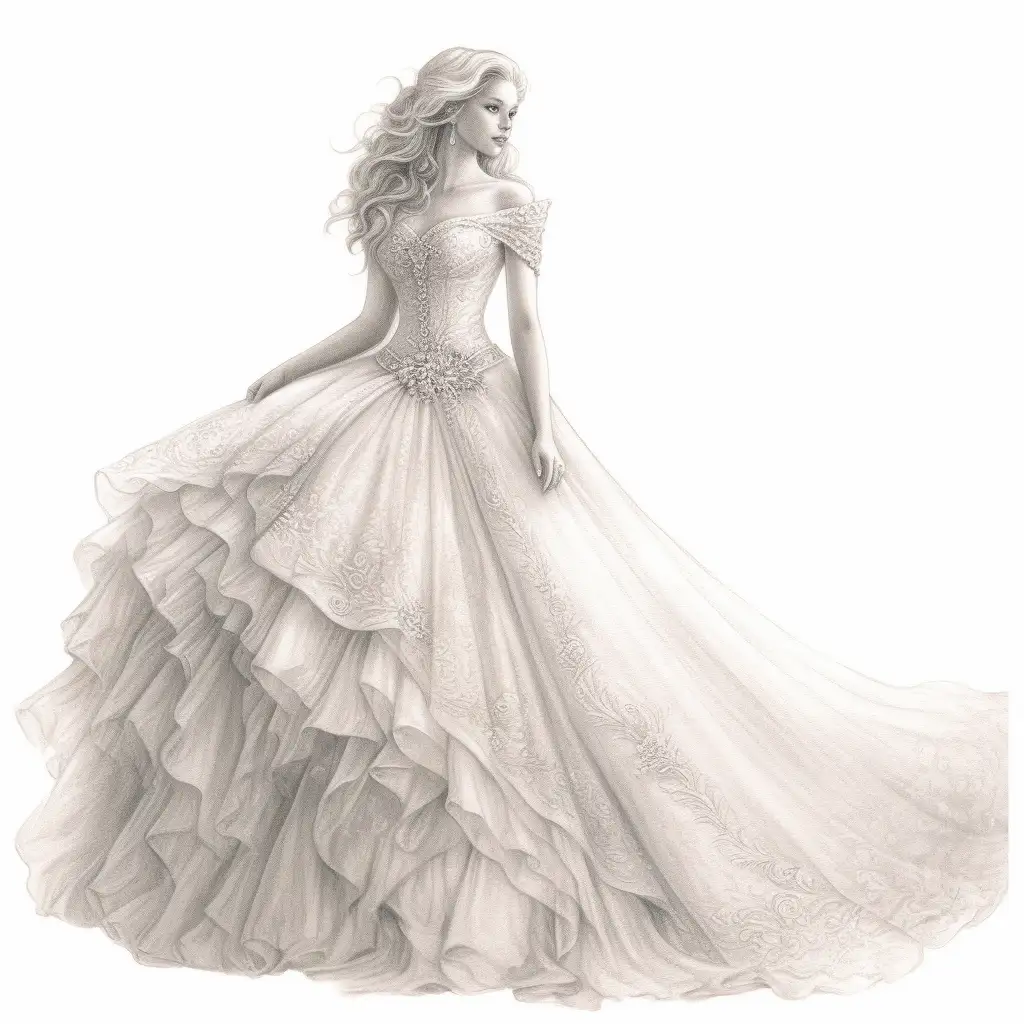
Sketching serves as a foundation for your design. While you don’t need to be the next Picasso, simple line drawings can help illustrate your vision. Draw the basic silhouette, the neckline, the sleeves (if any), and the train. Explore different elements such as:
- Silhouette: Are you envisioning a body-hugging mermaid silhouette or a romantic A-line? Maybe a voluminous ball gown is more your style. The silhouette is a key part of your design as it sets the overall shape of your dress.
- Neckline: A sweetheart neckline is classic and romantic, while a high neck lends a touch of sophistication. V-neck can be sultry or modest, depending on the depth. Your choice of neckline can drastically change the look of your dress.
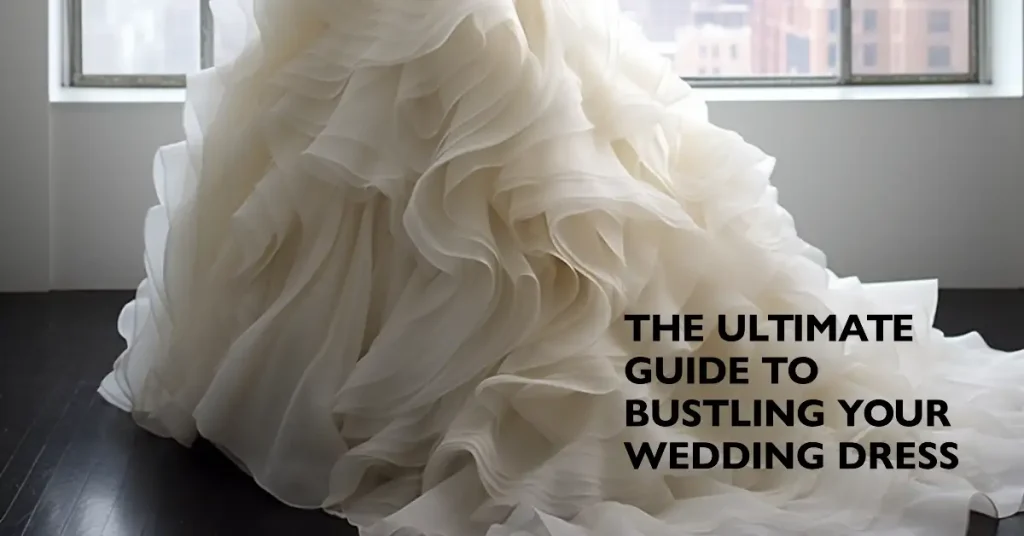
- Train: The train adds drama and formality to a wedding dress. From a subtle sweep train to a royal cathedral train, decide how much drama you want to bring to your walk down the aisle.
Exploring Embellishments
Remember, investing in quality tools pays off in the long run, making the process more efficient and enjoyable.
Embellishments are like the icing on a cake. They add character and glamour to your design.
- Lace Appliqués: These can be scattered across your dress or used to create patterns. They add a beautiful texture and depth to your gown.
- Beadwork: Intricate beadwork can make your dress sparkle under the lights. You can have heavy beadwork for a glamorous look or subtle beading for a touch of shimmer.
- Sequins: These add sparkle and can be used sparingly for a subtle shine or densely for a full-on glitter effect.
Remember, less is often more when it comes to embellishments. They should enhance your design, not overpower it.
Considering Your Body Type
Your wedding dress should not only be stunning but also flatter your body type.
- For pear-shaped bodies, A-line dresses can be very flattering.
- If you’re an hourglass, consider a mermaid or trumpet style to accentuate your curves.
- For petite brides, sheath dresses can create an elongated silhouette.
- Plus-size brides might find empire dresses flattering as they highlight the smallest part of the waist and flow gracefully to the ground.
Understanding what works for your body type can ensure that you feel confident and beautiful in your dress.
Choosing the Right Color
While traditional wedding dresses are white, modern brides have a spectrum of colors to choose from. The color should complement your skin tone and harmonize with your wedding theme. From champagne to blush, from ivory to even bold hues like red or black, the choice is entirely yours.
Creating Your Dress Pattern
Pattern drafting is a fundamental part of dressmaking. It translates your design and measurements into a blueprint for your wedding dress. Let’s break down this process into approachable steps.
Taking Precise Measurements
Accurate measurements are the cornerstone of a well-fitting dress. It’s best to wear undergarments similar to what you plan to wear on your wedding day when taking these measurements, as it will affect the fit. Here are the main measurements you will need:
- Bust: Measure around the fullest part of your chest.
- Waist: Measure around the narrowest part of your waist, typically an inch or two above your belly button.
- Hips: Measure around the widest part of your hips.
- Back Width: Measure across your back from one shoulder joint to the other.
- Waist to Floor: Measure from your waistline to the floor. Remember to account for your wedding shoes.
- Shoulder to Waist: Measure from the top of your shoulder, down the front, to your waistline.
- Arm Length: If your design includes sleeves, you’ll also need the length of your arm.
Always double-check your measurements for accuracy. It’s better to spend extra time now than to have to correct a poorly fitting dress later.
Drafting the Pattern
Using your measurements, draft a pattern on large sheets of pattern paper or on butcher’s paper. There are plenty of tutorials available online that can guide you step-by-step through this process. Here are the basic steps:
- Start by drafting the bodice. Draw the front and back separately. These patterns will include the neckline, armholes, and the shape of your waist.
- Next, draft the skirt part of your dress. The pattern will differ based on the silhouette you chose. For instance, a sheath dress will have a different pattern than a ball gown.
- If your design includes sleeves, draft these patterns separately.
Remember, the first draft of your pattern does not have to be perfect. It’s okay to make several attempts to refine and perfect the pattern. The key is patience and practice.
Mock-Up and Adjustments
Before cutting into your wedding dress fabric, it’s wise to create a mock-up with inexpensive fabric (like muslin). This allows you to check the fit, make any necessary adjustments, and get a sense of how the final dress will look. Make sure to move around, sit, and dance to ensure you’re comfortable in the mock-up.
Making Your Dress: The Step-by-Step Process
At this stage, you’re ready to transform your vision into reality. It’s a thrilling process where you see the fruits of your planning and creativity materialize before your eyes.
Choosing Your Fabrics
Picking your fabric is a significant step. When selecting, match the fabrics to the design you’ve envisioned. Consider the characteristics and functionality of each fabric:
- Silk for its luster and elegance
- Lace for romantic vintage appeal
- Chiffon for a soft, ethereal quality
- Tulle for volume and drama
Remember, your wedding dress will likely require more than one type of fabric. For instance, you might choose satin for the body of the dress and tulle for the underskirt to add volume.
Cutting Your Fabric
With your fabric chosen, it’s time to carefully cut it according to your pattern.
- Begin by pre-washing the fabric if necessary (some fabrics shrink).
- Iron the fabric to ensure it’s smooth and wrinkle-free.
- Lay out your fabric on a large, flat surface.
- Place your pattern pieces on top, using weights or pins to hold them in place.
- Mark around the patterns with tailor’s chalk or a fabric pen.
- Carefully cut out the pieces, ensuring to stay as close to your markings as possible.
Take your time with this process. Remember the adage: measure twice, cut once!
Assembling Your Dress
Now, it’s time to assemble your dress, like a beautiful puzzle.
- Start by sewing the bodice pieces together, following the instructions in your pattern.
- Next, assemble the skirt. Depending on your design, this could involve sewing multiple panels together or gathering the top of the fabric for volume.
- Join the bodice and the skirt.
- If your design includes sleeves, sew these separately and then attach them to the bodice.
- Add any structural elements like boning or built-in bra cups if necessary.
As you’re sewing, remember to take your time and be patient. A rushed seam is likely to be a crooked seam.
Adding Embellishments
Adding embellishments is the fun part where your dress truly starts to sparkle and shine. Whether it’s lace appliqués, intricate beadwork, or dazzling sequins, these elements add the personal touches that make the dress uniquely yours.
Consider placing these embellishments strategically, such as highlighting the neckline or accentuating the waist. Use a needle and thread to secure them, ensuring they’re attached securely.
Fitting and Adjusting Your Dress
After all the meticulous work and effort you’ve put into your wedding dress, it’s now time to ensure it fits you like a dream. Fittings are a crucial part of this process, allowing you to adjust the dress to perfectly align with your body shape.
The Importance of Fittings
Fittings ensure that your dress is not only beautiful but comfortable and well-suited to your body. You want your dress to move with you and not restrict you in any way. This will allow you to enjoy every moment of your special day without worrying about the dress.
What to Wear to Your Fittings
When trying on your dress, it’s essential to wear the same undergarments and shoes that you’ll wear on your wedding day.
- The undergarments you choose can affect the fit and look of your dress. For example, a different bra could change the fit of the bust area.
- Wearing your wedding shoes is vital for accurate hem length. The height of your shoes will determine how much your dress sweeps the floor.
Adjusting Your Dress
It’s common for a dress to need adjustments after the first fitting. Don’t worry, this is a normal part of the process.
- Try on the dress and examine it from all angles in a full-length mirror.
- Look for areas that need adjustment. Is it too loose or too tight anywhere? Is the length right? How does it feel when you move?
- Make a note of any changes that need to be made. You may need to take in or let out some seams, adjust the hemline, or modify the fit of the bodice.
- After making adjustments, have another fitting to ensure everything is now perfect.
Remember, patience is key here. It may take several fittings and adjustments to get your dress fitting just right, but it will be worth it when you’re walking down the aisle feeling comfortable and radiant in a dress that fits like a glove.
The Finishing Touches
After all the designing, sewing, fitting, and adjusting, you’re almost at the finish line. Now, it’s time to add the finishing touches to your masterpiece, ensuring every aspect of your dress is perfect and ready for the big day.
Checking and Securing Seams
Begin by examining every seam on your dress. They should be straight, secure, and clean. If you find any loose threads, carefully trim them without cutting the stitching. This is also the time to reinforce any areas that will bear a lot of strain, like the zipper or any seams around the waist.
Examining Embellishments
Ensure that every embellishment on your dress is firmly attached. Pay special attention to beading, sequins, or lace appliqués. If you find any loose elements, secure them with a few extra stitches.
Perfecting the Hem
The hem of your dress should fall at just the right length. It’s a delicate balance – too long and you could trip, too short and it might not look as elegant as you want. With your wedding shoes on, check that the hem just grazes the floor. If it doesn’t, make the necessary adjustments.
Storing Your Dress
Proper storage of your wedding dress is crucial to keeping it in pristine condition. Store your dress in a garment bag and hang it somewhere it won’t get crushed or creased. Avoid areas with a lot of sunlight, as this could cause your dress to become discolored.
The Dress Rehearsal
Consider having a dress rehearsal a few days before your wedding. Put on your dress, shoes, and any accessories you plan to wear. This gives you a chance to see how everything looks together. It’s also a good idea to move around a bit – sit, stand, dance – to ensure you’re comfortable and that everything stays in place.
The Big Day
At last, the day you’ve been waiting for has arrived – the day when you get to don your beautiful creation. All the brainstorming, drafting, sewing, fitting, and adjusting have led you to this moment, and it’s going to be magnificent.
Getting Dressed
When getting dressed, it’s important to take your time. Rushing could lead to unexpected issues, like a snagged hem or a forgotten accessory. Ensure you have enough time to dress at a leisurely pace, to soak in each moment, and to start your special day as stress-free as possible.
Preparing a Small Emergency Kit
Even with the most meticulous preparation, minor issues may arise on the day. Prepare a small emergency kit and keep it on hand. This kit should include:
- A bit of thread that matches your dress.
- A few needles for any unexpected repairs.
- Safety pins for quick fixes.
- A pair of scissors for trimming any stray threads.
Being prepared for any minor fixes will help keep your day running smoothly and ensure you continue looking your best.
Reveling in Your Achievement
Now, it’s time to revel in your hard work and creativity. Your hand-crafted dress is a testimony to your personal style, patience, and talent. This isn’t just a wedding dress – it’s a piece of you. Every stitch, every bead, every swish of the fabric is a reflection of your dedication and creativity.
Remember, this is your day to shine. Wear your dress with pride and joy. Twirl in it, dance in it, and let it accompany you as you make unforgettable memories. This is more than just a dress – it’s a testament to your journey, a symbol of a beautiful beginning, a treasure that you’ll cherish forever.
Conclusion
Congratulations! You’ve navigated the intricate process of creating your wedding dress. Look back and appreciate your journey, from those initial dreamy sketches to the beautiful, tangible piece you brought to life. Isn’t it exciting to know you’ll be walking down the aisle in a dress that is a reflection of your unique style and personality?
You should feel very proud of yourself for achieving something so special and memorable. We would love to hear your experiences, your triumphs, and even your challenges. After all, every stitch tells a story, and what better story than the one of your dream wedding dress come true!
And remember, the experience and skills you gained during this process are invaluable. You’ve not only created a wedding dress, but you’ve also created lasting memories and perhaps sparked a lifelong passion.
Here’s to the beginning of a beautiful journey – and to you, wearing the dress that you brought to life from a dream.
COPYRIGHT NOTICE
Please be advised that all images, designs, and creative content on this page are the exclusive property of TheIDoGuide.com and are protected under international copyright laws. The images may not be reproduced, copied, transmitted or manipulated without the written permission of TheIDoGuide.com.
Unauthorized use, distribution, display, or creation of derivative works of any images contained on this site, is strictly prohibited and can lead to legal penalties. We actively monitor for, and enforce, our copyright interests.
If you wish to use any of our images, kindly contact us to seek permission. Respect of copyright is not merely a legal requirement but also an acknowledgement and support of the hard work and creativity that goes into producing them.
Thank you for your understanding and cooperation.
© 2023, TheIDoGuide.com. All Rights Reserved.